



Life in red...the Sybil blouse and its tutorial
Hello!
With the new collection having gone to grading, I have a little time to offer you a new assembly tutorial: the Sybil pattern blouse and yoke version. The yoke version is the most delicate, even during preparation, as there are many curves, and you'll need to be precise when cutting and interfacing your yokes.
For this version, I chose a fabric from Pretty mercerie. It has a beautiful print, the color is vibrant, and the slightly crinkled effect is really pretty. However, it's synthetic and doesn't mark well with an iron, and ironing it requires delicacy, which made the fusible interfacing a bit complicated. It's also a thin fabric that slips a bit, so I recommend it for simple projects or if you're already experienced with your pattern.

blouse sybil patron de couture maison fauve 
blouse sybil patron de couture maison fauve
I chose to make the tutorial for this version of the pattern because I received several messages about difficulties with the fabric bodice/lining bodice assembly. It's important to understand that this type of "inlay" yoke assembly requires joining curves that will oppose each other during pinning but will lie perfectly flat when you turn your work right side out. Precise and error-free assembly of your fabric bodice will allow for a perfect overlap with the lining. And the dimensions are identical, so be careful if the fabric and lining don't match up well, it means you've made a small mistake beforehand (slight modification of the fabric dimension with fusible interfacing, a small offset when sewing the yokes, and these few millimeters affect the overall height of the bodice...). Maison Fauve patterns are digitized and graded by a pattern maker using Lectra, which means that the dimensions of the different pieces and the alignment of the notches are checked by computer. And tests are done after grading, so the pattern is re-validated again ;)


Alright, get your pins and scissors out, let's go!
- Making the bust darts on the front bodice pieces.
Pin after matching the notches. Don't hesitate to trace the sewing line with tailor's chalk or a Pilot Frixion erasable pen (erases with a touch of the iron!!!) or you can baste it with a wide stitch, sew from the edge of the garment and finish the dart point by tapering along the line for the last 2 stitches. Press your darts downwards. You will do the same for the bust darts on the lining.


- Bodice and yoke assembly: your pattern includes markings to avoid mistakes when assembling the yokes to the bodice. Indeed, when assembling these pieces, the curves counteract each other; it's when the pieces are spread out after sewing that the curves define themselves.
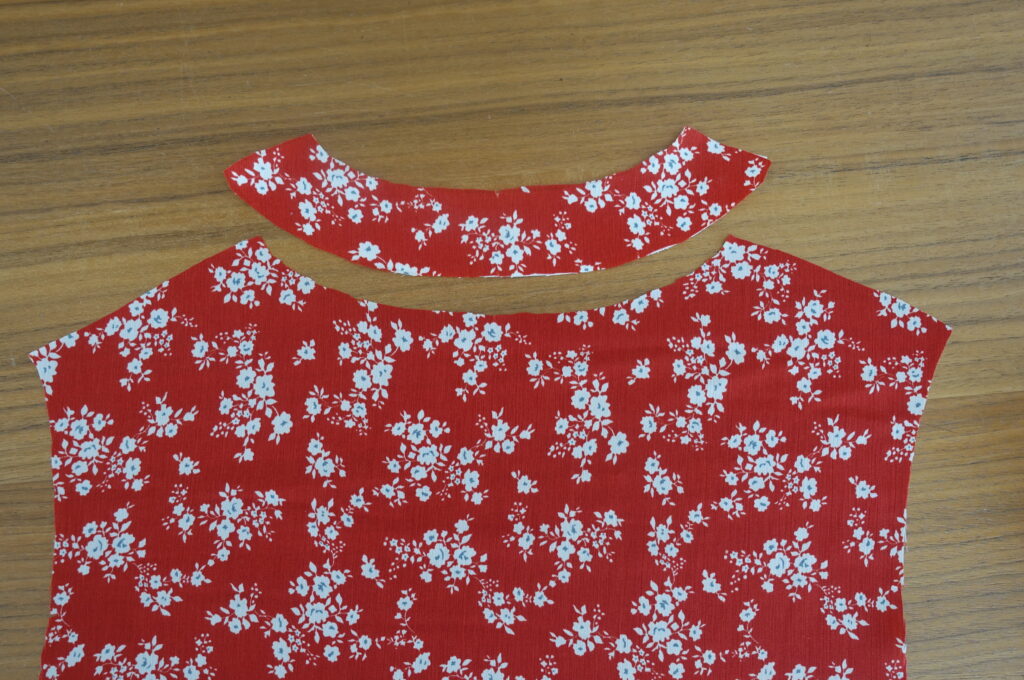


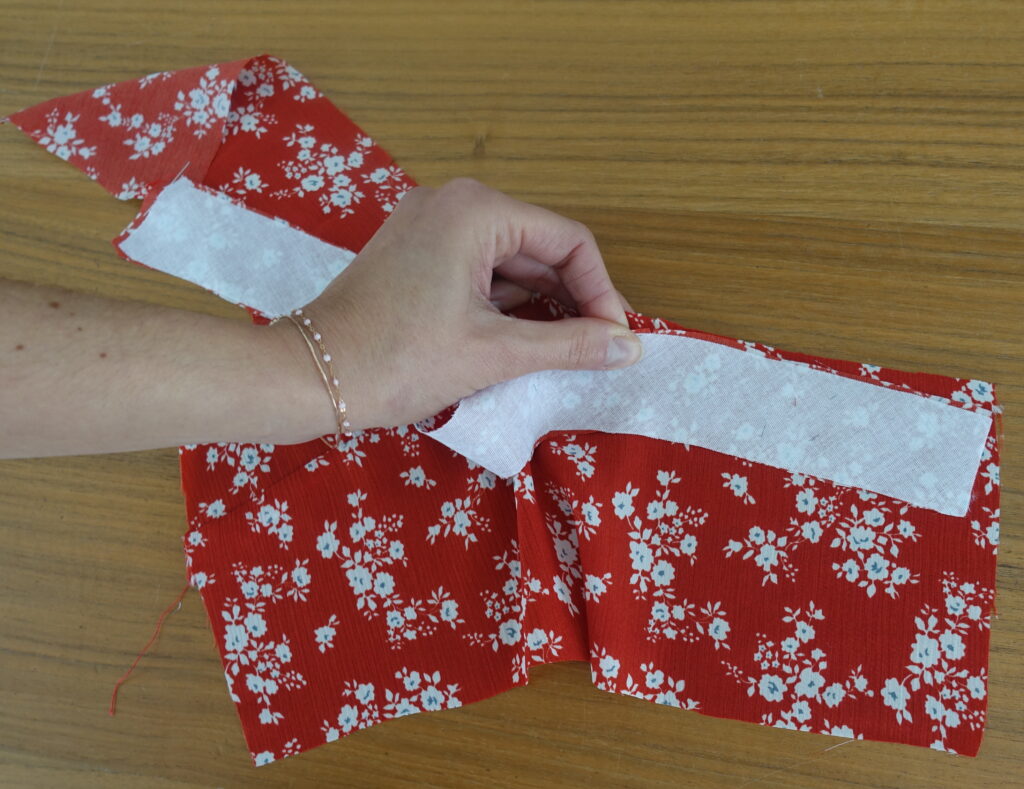


For the left front bodice: pin right sides together the bodice and the yoke, making sure the notches A match up. Sew, turn, and press well.
For the right front bodice: pin right sides together the bodice and the yoke, making sure the notches D match up. Sew, turn, and press well.
For the back bodice: pin right sides together the bodice and the yoke, making sure the notches E match up. Sew, turn, and press well.
- Bodice assembly: Pin right sides together the right and left front bodice pieces and the back bodice piece at the shoulders.


- Place the bodice and lining right sides together and pin all around the neckline: from the bottom of the right front piece, going up along the neckline, along the back neckline, and down to the left front piece. Use the reference notches (C for the right front, B for the left front, and the center back notch at the fold for the back). Stop at the left neckline without going down along the left side. Clip well at the point of your cutouts and all your curves, and reduce your seam allowances. Turn your work right side out. Press to define your curves and the angle of the right bodice.

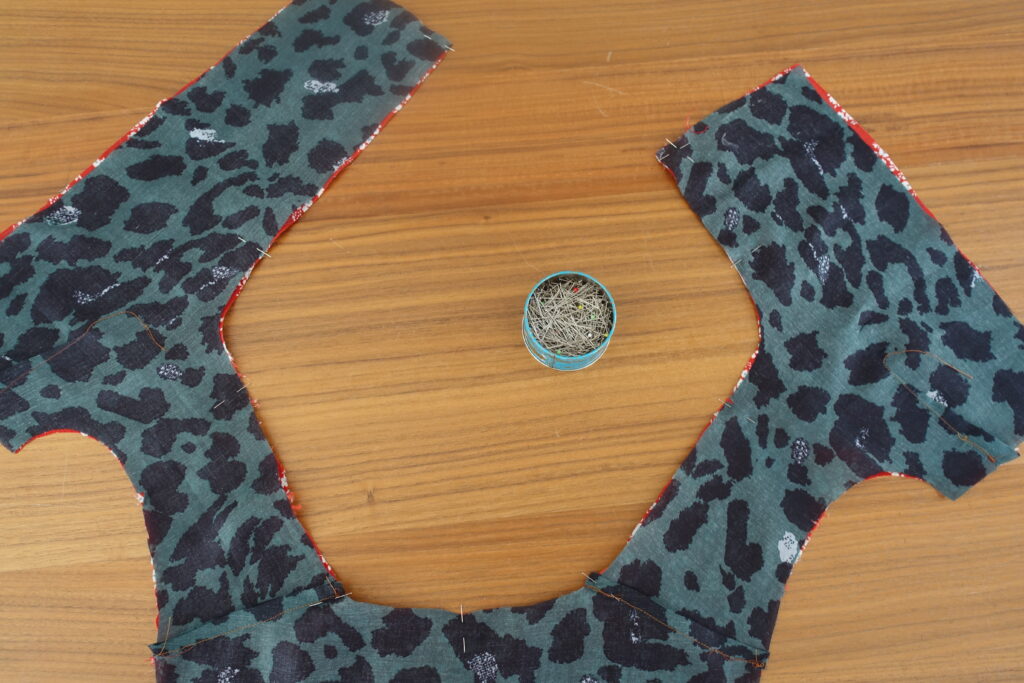
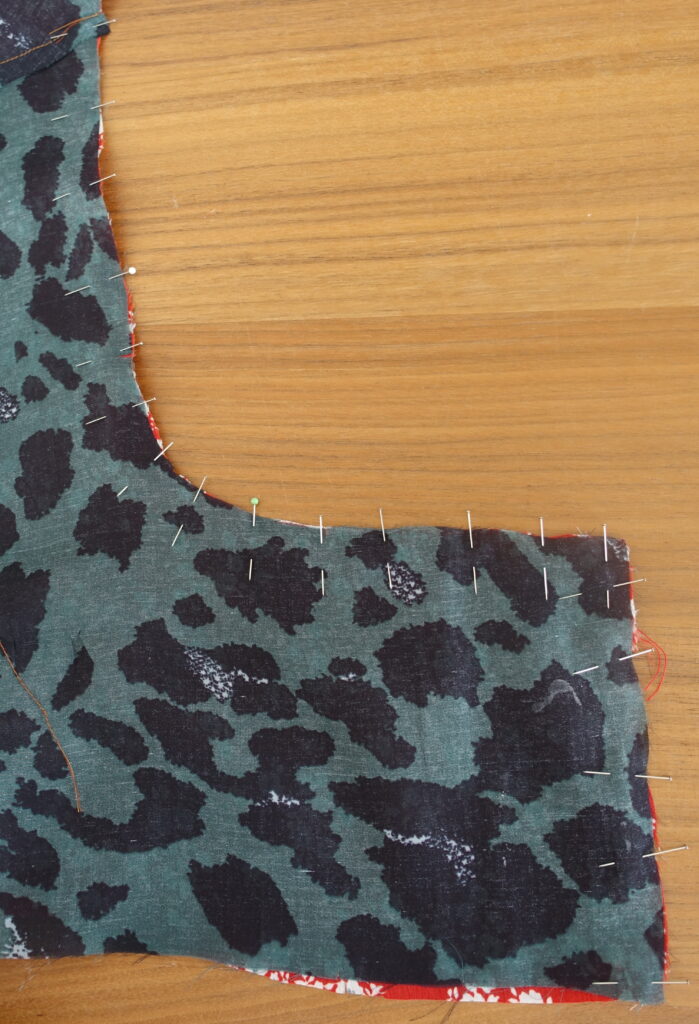
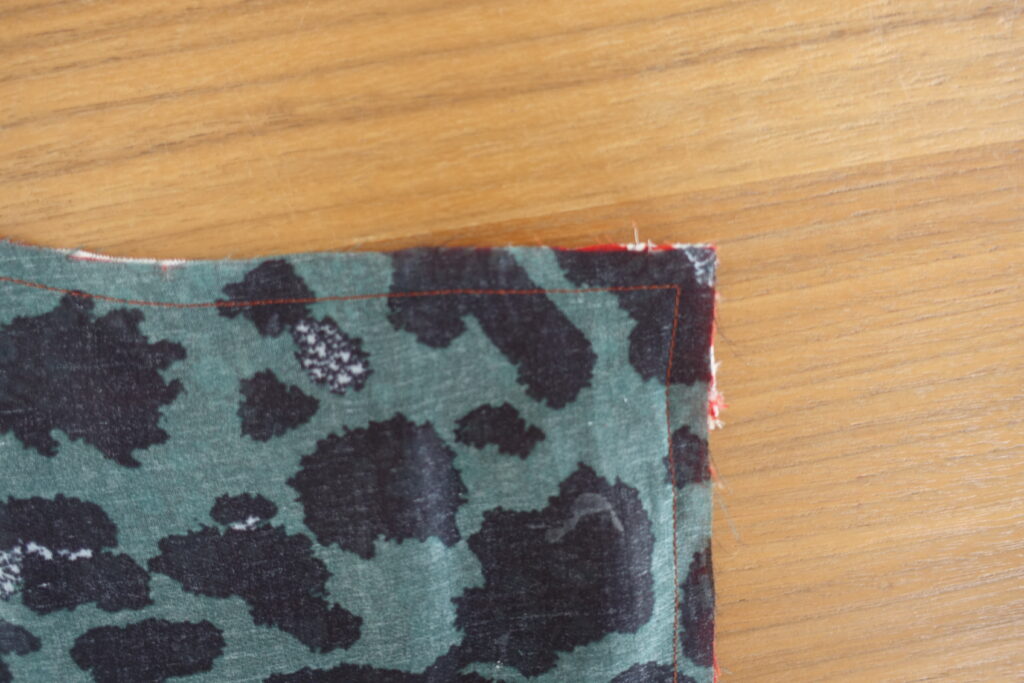


NB: if you wish to close your blouse with small ties, you will need to position them at this stage, sandwiching them between the edge of the lining and the fabric of the right front).
-
The sides:
To make your work easier, you can first stabilize the fabric/lining assembly by securing them with a stitch in the seam allowance. Pin your sides right sides together, sandwiching the right front side between the back side and the left front edge, so when you turn it, the right front will cross in front of the left front. Overlock your side seams.
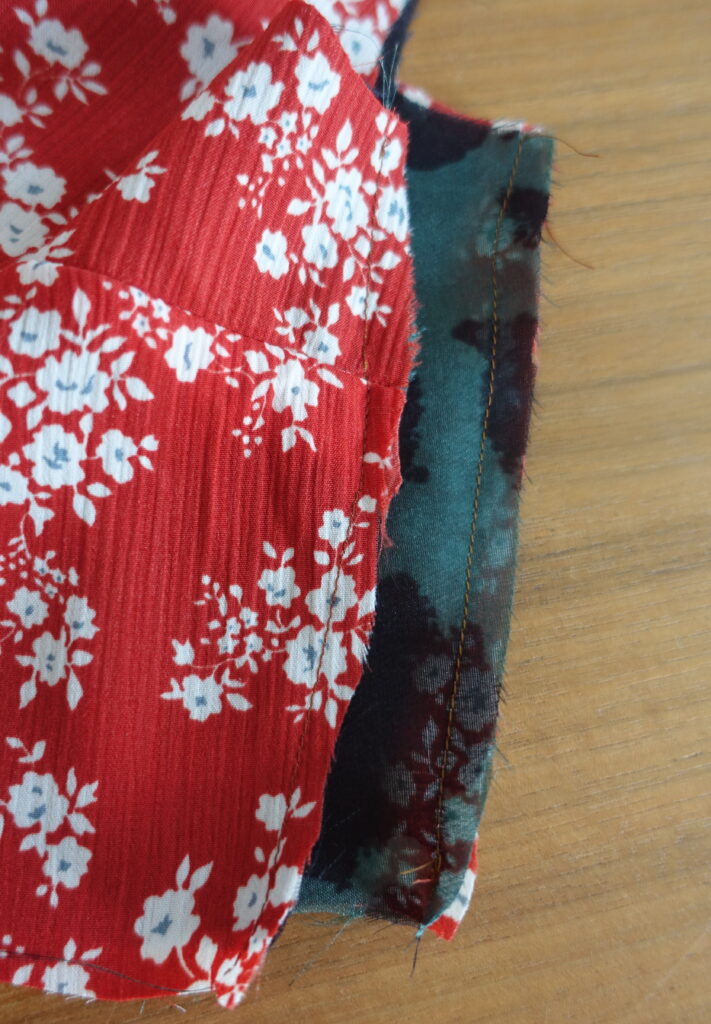


- Press your work well so that your front and back necklines are well-defined. You will have your blouse with the right side of the lining against your body and the right side of the fabric visible.
- Pin the bottom of your bodice pieces right sides together and stitch at 0.5 cm (i.e., within the seam allowance): the purpose is to join them before assembling with the skirt part, which will make this step easier for you.
- The "skirt" part: your skirt piece is presented as a "skirt" for the blouse, meaning the lower part of your blouse, or as a "skirt" for the dress.
- Assembling skirt/bodice: start by gathering the top of your skirt. You will sew 2 rows of gathering stitches. To do this, lower the thread tension as much as possible and set your machine to wide stitches. Make a first stitch 0.4 mm from the edge all along your waist, and leave the thread a bit long before cutting it at the end of the seam. Do the same at 0.8 mm from the edge.

- Place your skirt on one of your bodice panels, right sides together, and start by pinning the key points (center front and back, side seams of the bodice that match the side seam of the skirt). Gently pull the 2 ends of the thread; your fabric will gather along the thread. Distribute your gathers evenly along the entire length and pin.
- Sew your skirt to your bodice, being careful not to flatten your gathers (make sure you have reset your machine to normal tension and stitch length settings). Serge your seam.


- Your garment now looks like a sleeveless blouse with a lined bodice, fabric and lining joined at the neckline and waist. Baste your fabric and lining armholes wrong sides together, making a stitch inside the seam allowance (0.5 cm). Joining the armholes this way will make the sleeve attachment step easier.
- Close your sleeve by sewing the side seam right sides together. Serge.
Attach your sleeve to your garment by pinning right sides together (make sure to use your notches: 2 notches at the front, 1 notch at the back, and 1 notch for the sleeve head that matches the shoulder seam). Serge your seam.


Finishing touches: hem the bottom of your dress/top and sleeves. Sew your 3 pretty buttons onto the left bodice.
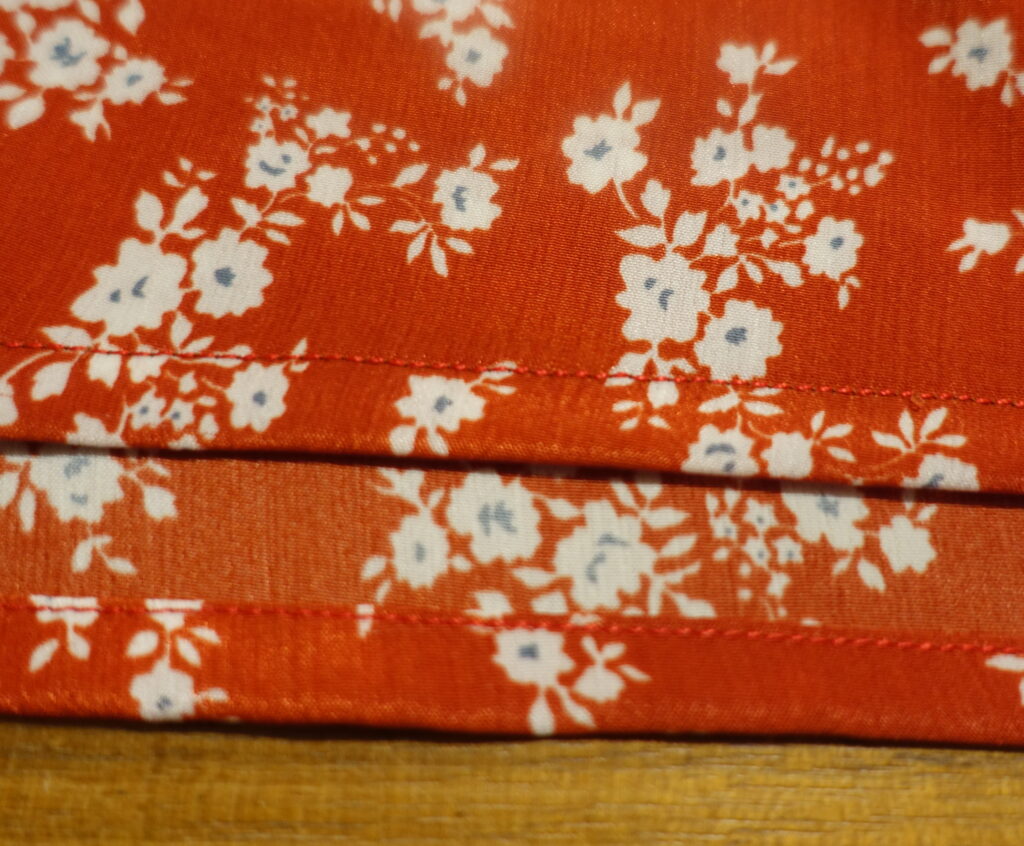

I hope this photo step-by-step guide helps you when making your beautiful Sybil. I look forward to seeing your versions!


















1 comment
Merci pour les explications mais un tuto serai le bien venu pour compléter la réalisation de ce joli haut 🤔🤔🤔
Hote
Leave a comment
This site is protected by hCaptcha and the hCaptcha Privacy Policy and Terms of Service apply.